


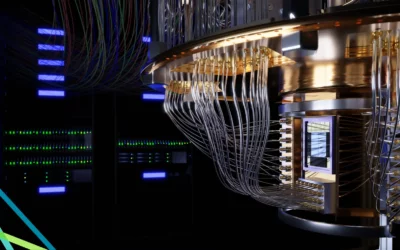
Keystone AI + Quantum Factory to Drive Innovation, Jobs, and Statewide Growth
PSC Joins with Pennsylvania’s Seven R1 Universities & Commonwealth Leaders to Launch Initiative
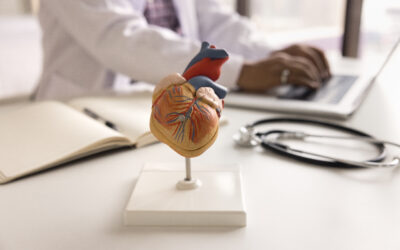
PSC’s Mario Powered First Computer Simulation of the Heart
Early Access on CRAY C90 in 1993 Ironed Out Problems in Early Heart Model

Triage Robots May Help Wounded People in Mass Casualties
CMU Team Responds to $7-Million DARPA Challenge with Robot-Human Team, Guided by AI
Accelerate your research on Bridges-2,
our flagship supercomputer

Our featured projects
PSC maintains advanced infrastructure to support
computation-heavy research in areas such as: data analytics, machine learning, bimolecular simulation, AI and deep learning, and provides access to the national cyberinfrastructure community of resources.
Want to help further our research?
Support the next big discovery or inspire the next class of great thinkers with a gift to our center.

Recent News from PSC
Keystone AI + Quantum Factory to Drive Innovation, Jobs, and Statewide Growth
PSC Joins with Pennsylvania’s Seven R1 Universities & Commonwealth Leaders to Launch Initiative
PSC’s Mario Powered First Computer Simulation of the Heart
Early Access on CRAY C90 in 1993 Ironed Out Problems in Early Heart Model
Triage Robots May Help Wounded People in Mass Casualties
CMU Team Responds to $7-Million DARPA Challenge with Robot-Human Team, Guided by AI
Accelerate your research on
Bridges-2, our newest supercomputer

Our Featured Projects
PSC maintains advanced infrastructure to support computation-heavy research in areas in: data analytics, machine learning, bimolecular simulation, AI and deep learning, and provides access to the national cyberinfrastructure community of resources.
Want to help further our research?
Support the next big discovery or inspire the next class of great thinkers with a gift to our center.